Introduction
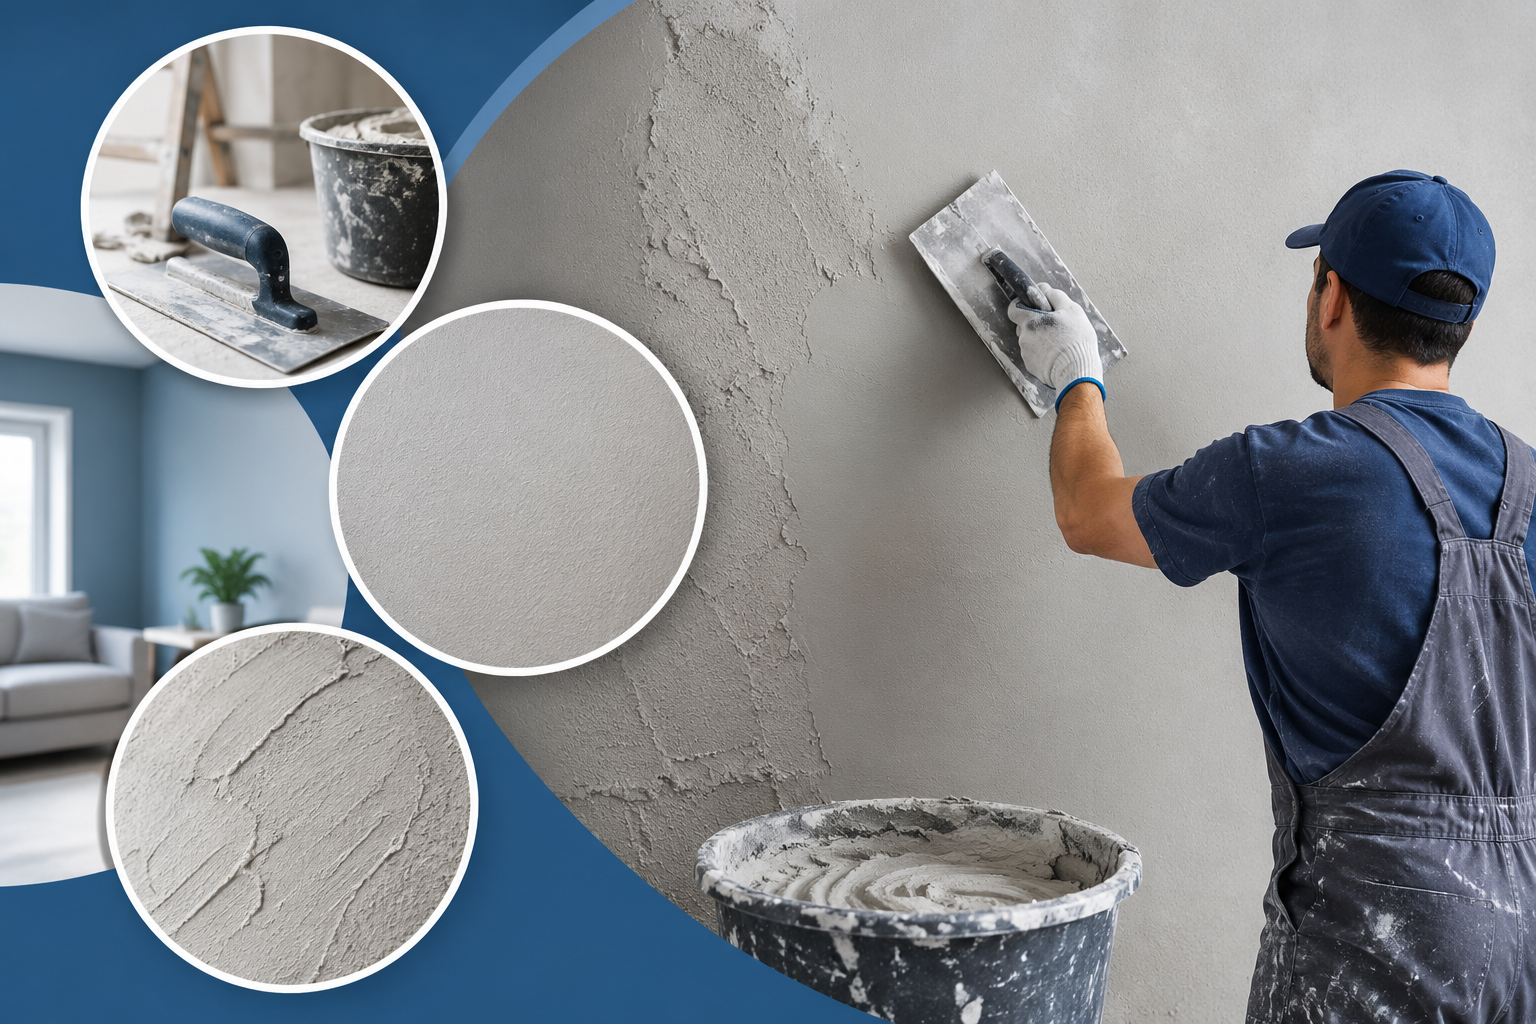
Wall texture plays an important role in the overall appearance of a renovated property. Whether the desired result is a smooth finish, subtle texture, or a more decorative surface, inconsistency can make walls look uneven and unfinished.
Achieving a consistent texture depends on several factors, including surface preparation, plaster consistency, application thickness, working time, tools, and finishing technique. Even small differences between sections can become noticeable after the wall dries or is painted.
Professional plaster work focuses on maintaining consistency throughout the entire process rather than trying to correct imperfections at the final stage. Proper preparation and controlled application can help create a more uniform surface. For professional plastering solutions, you can explore https://www.singcons.com/plaster.php.
Why Consistent Wall Texture Matters
A consistent wall texture creates a cleaner and more professional appearance. It also provides a better base for painting, wallpaper, or other decorative finishes.
Uneven texture can result in:
- Visible patches
- Different surface patterns
- Uneven paint absorption
- Noticeable ridges and lines
- Rough or overly smooth areas
- Visible transition marks between sections
A uniform finish is particularly important when large wall areas are renovated because differences in texture can become more obvious under natural or artificial lighting.
1. Prepare the Wall Surface Properly
Surface preparation is one of the most important steps in achieving consistent plaster texture.
Before applying plaster, inspect the wall for:
- Cracks
- Loose plaster
- Dust and dirt
- Moisture damage
- Previous repairs
- Uneven surfaces
- Flaking paint or coatings
Loose or damaged material should be repaired or removed before the new plaster is applied. The surface should also be clean and appropriately prepared for the selected plaster system.
Differences in surface condition can affect how quickly moisture is absorbed and how the plaster behaves during application. Therefore, preparation should be consistent across the complete working area.
2. Maintain Consistent Plaster Mixing
The consistency of the plaster mix directly affects how easily it spreads and how the finished texture develops.
Using different water quantities for different batches can cause variations in workability and surface appearance. Clean equipment, measured materials, and a repeatable mixing process can help maintain consistency.
Plaster should be mixed according to the manufacturer's instructions rather than relying on guesswork. The required consistency may vary depending on the product and application method.
For larger renovation projects, maintaining a consistent mixing procedure across batches can reduce visible differences between sections.
3. Control Application Thickness
Uneven plaster thickness can create differences in the final texture.
If some areas receive a thicker layer while others receive a thinner application, the wall may dry differently and produce an inconsistent appearance.
Use appropriate tools and controlled movements to distribute the material evenly. Straightedges, trowels, floats, or other suitable tools can help maintain a more consistent surface depending on the plaster system being used.
The objective is to establish an even surface rather than repeatedly adding material to individual spots.
4. Work in Manageable Sections
Trying to complete an excessively large area at once can make it difficult to maintain consistent texture and timing.
Breaking the wall into manageable sections allows the applicator to control:
- Material application
- Working time
- Texture pattern
- Finishing pressure
- Overlap between sections
However, transitions between sections should be handled carefully. Maintaining a wet edge where appropriate can help reduce visible joints and ridges.
5. Use Consistent Application Techniques
The same application technique should be maintained across the entire wall.
Changes in:
- Trowel angle
- Pressure
- Movement
- Application speed
- Material quantity
- Tool selection
can affect the final texture.
For example, applying heavier pressure in one section and lighter pressure in another can produce noticeable differences after drying.
Smooth, controlled and repeatable movements are essential for achieving a uniform result.
6. Pay Attention to Working Time
Plaster changes as it begins to set. The timing of spreading, levelling, and finishing can therefore affect the final appearance.
If one section is finished while the material is still very workable and another is worked after it has started setting, the resulting textures may differ.
The applicator should understand the working characteristics of the selected material and maintain a consistent sequence throughout the project.
Avoid repeatedly working areas that have already started to set because excessive reworking can create drag marks and surface irregularities.
7. Maintain a Consistent Finishing Technique
The final finishing stage can have a significant impact on wall texture.
Use consistent pressure and movement when smoothing or refining the plaster. Tools should also be kept clean because dried material on a trowel or float can leave unwanted lines across the surface.
Depending on the desired finish, different tools may be used to create smooth, fine, textured, or decorative surfaces.
For reliable plaster work and professional wall finishing, visit https://www.singcons.com/plaster.php.
8. Check the Surface Under Proper Lighting
Some imperfections are difficult to see while plaster is wet. Lighting can reveal ridges, dips, uneven texture, and transition marks that may otherwise be missed.
Inspect the wall from different angles before the final decorating stage. Correcting small imperfections early is generally easier than attempting to fix an inconsistent surface after painting.
9. Allow Proper Drying Time
Rushing the drying process can affect the final result.
Plaster should be allowed to dry according to the material and environmental conditions before sanding, priming, or painting. Temperature, humidity, ventilation, and application thickness can all influence drying time.
A properly dried surface provides a more reliable base for subsequent finishing work.
10. Use the Right Plastering Tools
Suitable tools can make it easier to maintain consistency.
Common tools include:
- Trowels
- Hawks
- Floats
- Straightedges
- Mixing buckets
- Measuring equipment
- Sanding tools
- Texture tools
Tools should be clean and in good condition. Damaged or dirty tools can introduce unwanted marks and make consistent application more difficult.
How Professional Plaster Work Improves Texture Consistency
Professional plastering requires more than simply spreading material across a wall. It involves controlling the entire application process from preparation through finishing.
A professional approach generally focuses on:
- Proper substrate preparation
- Consistent material mixing
- Controlled application
- Even thickness
- Correct timing
- Clean tools
- Consistent finishing
- Careful inspection
This systematic approach can help reduce visible inconsistencies and create a cleaner finished surface.
Singcons provides plaster-related services designed to support renovation and property improvement projects. Learn more at https://www.singcons.com/plaster.php.
FAQ
What causes uneven wall texture during renovation?
Uneven texture can result from inconsistent plaster mixing, different application thicknesses, poor surface preparation, inconsistent tool pressure, or working on the material at different stages of setting.
How can I make plaster texture consistent?
Use a consistent mixing process, apply similar thickness across the wall, maintain the same technique, work in manageable sections, and use controlled finishing movements.
Does surface preparation affect plaster texture?
Yes. Differences in surface condition and moisture absorption can influence how plaster behaves. Proper preparation helps create more consistent application conditions.
How long should plaster dry before painting?
Drying time depends on the plaster type, thickness, temperature, humidity, and ventilation. Follow the product manufacturer's recommendations and ensure the surface is adequately dry before decorating.
Can uneven plaster texture be corrected?
Yes. Depending on the severity, uneven areas may be smoothed, repaired, skimmed, or refinished before painting or other decorative work.
Conclusion
Consistent wall texture is the result of careful preparation, controlled plaster mixing, even application, proper timing, and a disciplined finishing process. Small variations in material consistency, thickness, pressure, or working time can become visible once the wall has dried and been painted.
By following a structured approach and paying attention to surface conditions throughout the renovation, property owners and contractors can achieve a cleaner and more uniform wall finish.
For professional plaster work and renovation solutions, visit https://www.singcons.com/plaster.php.
Need a Transformation?
Need to improve uneven, outdated, or damaged walls? Professional plaster work can help transform rough surfaces into cleaner, more uniform finishes that are ready for painting and other decorative treatments.
Explore plastering services at https://www.singcons.com/plaster.php and take the next step toward a better-finished interior.