Introduction
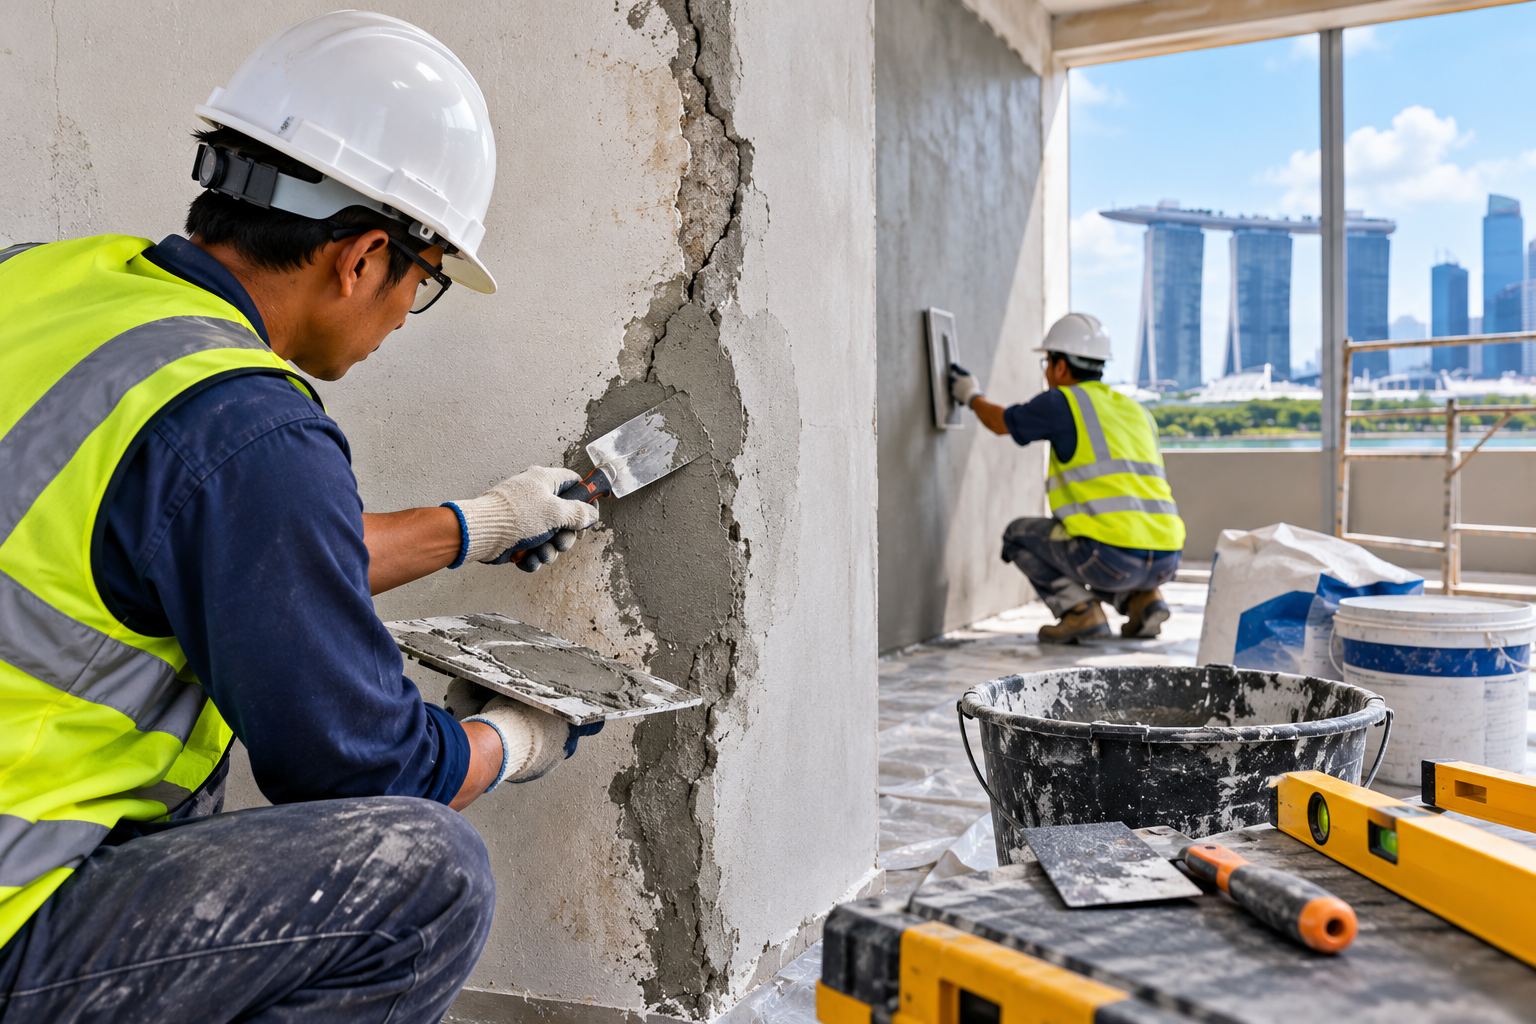
Smooth and well-finished walls are essential for creating an attractive and professional interior. However, cracks, uneven surfaces, holes, and damaged plaster can affect the appearance and durability of wall finishes. Before applying paint or other decorative materials, it is important to repair these imperfections and prepare the surface properly.
Surface repair and plaster work play a significant role in achieving consistent wall finishing. Proper preparation helps improve the appearance of walls, supports better paint adhesion, and reduces the risk of visible defects after completion.
For professional plastering and wall preparation solutions, businesses and property owners can explore the services offered by Singcons.
https://www.singcons.com/plaster.php
Why Wall Surface Repair Is Important
Wall surface repair is more than a cosmetic process. It helps create a stable and even base for subsequent finishing work.
1. Creates a Smooth Wall Surface
Cracks, dents, holes, and uneven patches can remain visible after painting. Repairing these imperfections helps create a uniform surface and improves the overall appearance of the finished wall.
2. Improves Paint Adhesion
Loose plaster, dust, and damaged areas can interfere with paint adhesion. Proper cleaning and repair help create a suitable surface for primers and finishing coats.
3. Prevents Visible Finishing Defects
Unrepaired cracks and uneven areas may become more noticeable under certain lighting conditions. Surface preparation helps reduce visible irregularities and supports a cleaner final appearance.
4. Improves Wall Durability
Repairing deteriorated plaster and addressing minor surface damage can help maintain the condition of interior walls. However, recurring or structural cracks should be assessed before cosmetic repairs are carried out.
5. Reduces Future Maintenance
Identifying and repairing surface defects before painting can reduce the need for repeated patching and repainting caused by avoidable preparation problems.
Steps for Repairing Cracks and Uneven Wall Areas
1. Inspect the Wall Surface
Begin by examining the entire wall for cracks, holes, bulges, loose plaster, stains, and uneven patches.
Check whether cracks are stable or recurring and look for signs of dampness or movement. Understanding the condition of the wall helps determine whether a simple repair or more extensive work is required.
2. Remove Loose Material
Use appropriate tools to remove loose paint, flaking plaster, and weak surface material around the damaged area.
The edges of the repair should be stable enough to support the selected repair compound. Care should be taken not to damage sound surrounding plaster unnecessarily.
3. Clean the Surface
Dust, dirt, grease, and loose particles can interfere with repair materials.
Brush or vacuum the affected area and follow the product manufacturer's instructions for any additional cleaning or dampening requirements.
4. Repair Cracks Properly
Stable hairline cracks can often be treated with a suitable wall filler or repair compound.
Where appropriate, the crack may need to be opened slightly to remove weak edges and allow the repair material to bond effectively. Larger, recurring, or potentially structural cracks require further assessment before the repair method is selected.
5. Fill Holes and Uneven Areas
Apply a suitable plaster repair compound or filler to holes, dents, and minor depressions.
For deeper defects, use the appropriate repair material in the recommended layer thickness rather than applying an excessively thick coat in one application. Allow each layer to dry or cure as specified by the manufacturer.
6. Carry Out Plaster Work Where Required
When damage extends beyond minor surface imperfections, patch plastering or replastering may be necessary.
The plaster should be applied and leveled using suitable techniques to achieve the required flatness. The substrate, plaster type, and environmental conditions should be considered to ensure compatibility and proper curing.
7. Sand and Level the Repaired Surface
Once the repair material has dried sufficiently, sand or level the area as appropriate.
The aim is to blend the repaired section into the surrounding wall without creating ridges, depressions, or visible patch boundaries. Dust should be removed before proceeding to the next stage.
8. Apply Primer Before Final Finishing
Depending on the surface condition and finishing system, a suitable primer or sealer may be required.
Primer helps prepare the repaired surface for paint and can improve consistency between patched and existing areas. Always follow the manufacturer's recommendations for application and drying time.
9. Inspect Before Painting
Before applying the final finish, inspect the wall under suitable lighting.
Check for remaining cracks, rough patches, uneven areas, and surface dust. Correct any remaining defects before proceeding with the finishing coat.
Benefits of Professional Plastering Services
Professional plaster work can help achieve consistent wall levels, effective repairs, and a clean surface ready for final finishing.
Experienced professionals can assess damaged areas, select appropriate repair materials, carry out patching or replastering, and prepare the wall for painting. They can also identify conditions that may require further investigation, such as persistent dampness or recurring cracks.
For residential, commercial, and other building projects, proper plastering and surface repair help support a more professional final appearance.
Explore plastering services:
https://www.singcons.com/plaster.php
Frequently Asked Questions
1. Why should cracks be repaired before painting walls?
Cracks can remain visible through paint and may worsen if the underlying cause is not addressed. Repairing stable cracks and preparing the surface properly helps create a smoother finish.
2. How do professionals repair uneven plaster walls?
Professionals inspect the surface, remove loose material, fill defects, apply suitable plaster where necessary, and level the repaired areas. After adequate drying, the surface is prepared for primer and final finishing.
3. Can all wall cracks be repaired with filler?
No. Small, stable surface cracks may be suitable for filler, but large, recurring, or structural cracks require assessment to determine their cause and the appropriate repair method.
4. Is primer necessary after wall surface repair?
Primer is often recommended after repairs because it helps prepare the surface for paint and improve finish consistency. The correct product depends on the substrate, repair material, and selected paint system.
Conclusion
Repairing cracks and uneven areas before final wall finishing is essential for achieving smooth, attractive, and durable surfaces. Proper inspection, cleaning, crack repair, plaster leveling, and priming help reduce visible defects and improve the quality of the finished wall.
Choosing suitable repair materials and allowing adequate drying time are equally important. When cracks are recurring or damage is extensive, identifying the underlying cause should take priority over cosmetic repairs.
With careful surface preparation and quality plaster work, property owners can achieve better finishing results and reduce avoidable maintenance.
For professional plastering and wall preparation solutions, explore Singcons.
Visit Website: https://www.singcons.com/plaster.php
Need to Transform Your Walls?
Give damaged or uneven walls a fresh start with proper surface repair and plaster work. Whether you are preparing a new property for painting or renovating an existing space, suitable wall preparation can make a significant difference to the final result.
Explore the available services and plan your next wall-finishing project.
Visit Website: https://www.singcons.com/plaster.php