Introduction
A good wall finish starts with proper surface preparation. Whether you are renovating a home, upgrading an office, or improving a commercial property, preparing concrete walls correctly helps create a smooth and suitable base for plastering and painting.
Dust, loose concrete, cracks, and moisture can affect how well finishing materials adhere to a surface. Taking the right steps before plaster work begins can help reduce surface defects and support a cleaner, more durable result.
Why Concrete Wall Preparation Is Important
Concrete walls may appear strong, but their surfaces can contain small holes, uneven patches, dust, and other imperfections. Applying plaster directly over an unsuitable surface may lead to poor adhesion, cracks, or an uneven finish.
Proper preparation helps identify these issues before the finishing work starts. It also allows contractors to select suitable repair materials and application methods according to the wall condition.
For professional wall preparation and plastering solutions, visit https://www.singcons.com/plaster.php.
Steps to Prepare Concrete Walls for Long-Lasting Finishes
1. Inspect the Concrete Surface
Begin by checking the wall for cracks, loose material, uneven areas, and signs of moisture. Pay attention to corners, joints, and areas around windows or doors, where surface defects may be more noticeable.
A proper inspection helps determine whether the wall needs cleaning, minor repairs, levelling, or additional treatment before plaster application.
2. Remove Dust and Loose Material
Dust and loose particles can prevent plaster from bonding properly to the concrete. Use suitable brushes and cleaning methods to remove dirt, loose concrete, and other surface contaminants.
Oil, grease, and other substances that may affect adhesion should also be addressed using appropriate cleaning methods. Allow the surface to reach the condition required by the selected plastering system.
3. Repair Cracks and Surface Defects
Small holes, damaged patches, and uneven areas should be assessed and repaired with suitable materials before applying the finishing coat.
Larger or recurring cracks may indicate an underlying problem that requires further investigation. Simply covering these cracks with plaster may not resolve the cause.
Proper repair creates a more stable base and helps improve the overall appearance of the completed wall.
4. Check Moisture Conditions
Moisture can affect plaster adhesion and contribute to surface deterioration. Before beginning plaster work, check for damp patches, water seepage, or signs of leakage.
Any underlying moisture problem should be addressed before the finishing process continues. Concrete surfaces should be prepared according to the product manufacturer's instructions, including any requirements for dampening, priming, or drying.
5. Apply Suitable Surface Treatment
Some concrete surfaces may require a bonding agent, primer, or a specialised preparation coat to help the plaster adhere correctly.
The appropriate treatment depends on the surface condition and the plastering system being used. Smooth concrete may require a different preparation method from rough or highly absorbent surfaces.
Choosing compatible materials and following application instructions helps create a suitable foundation for the next stage.
6. Apply and Level the Plaster
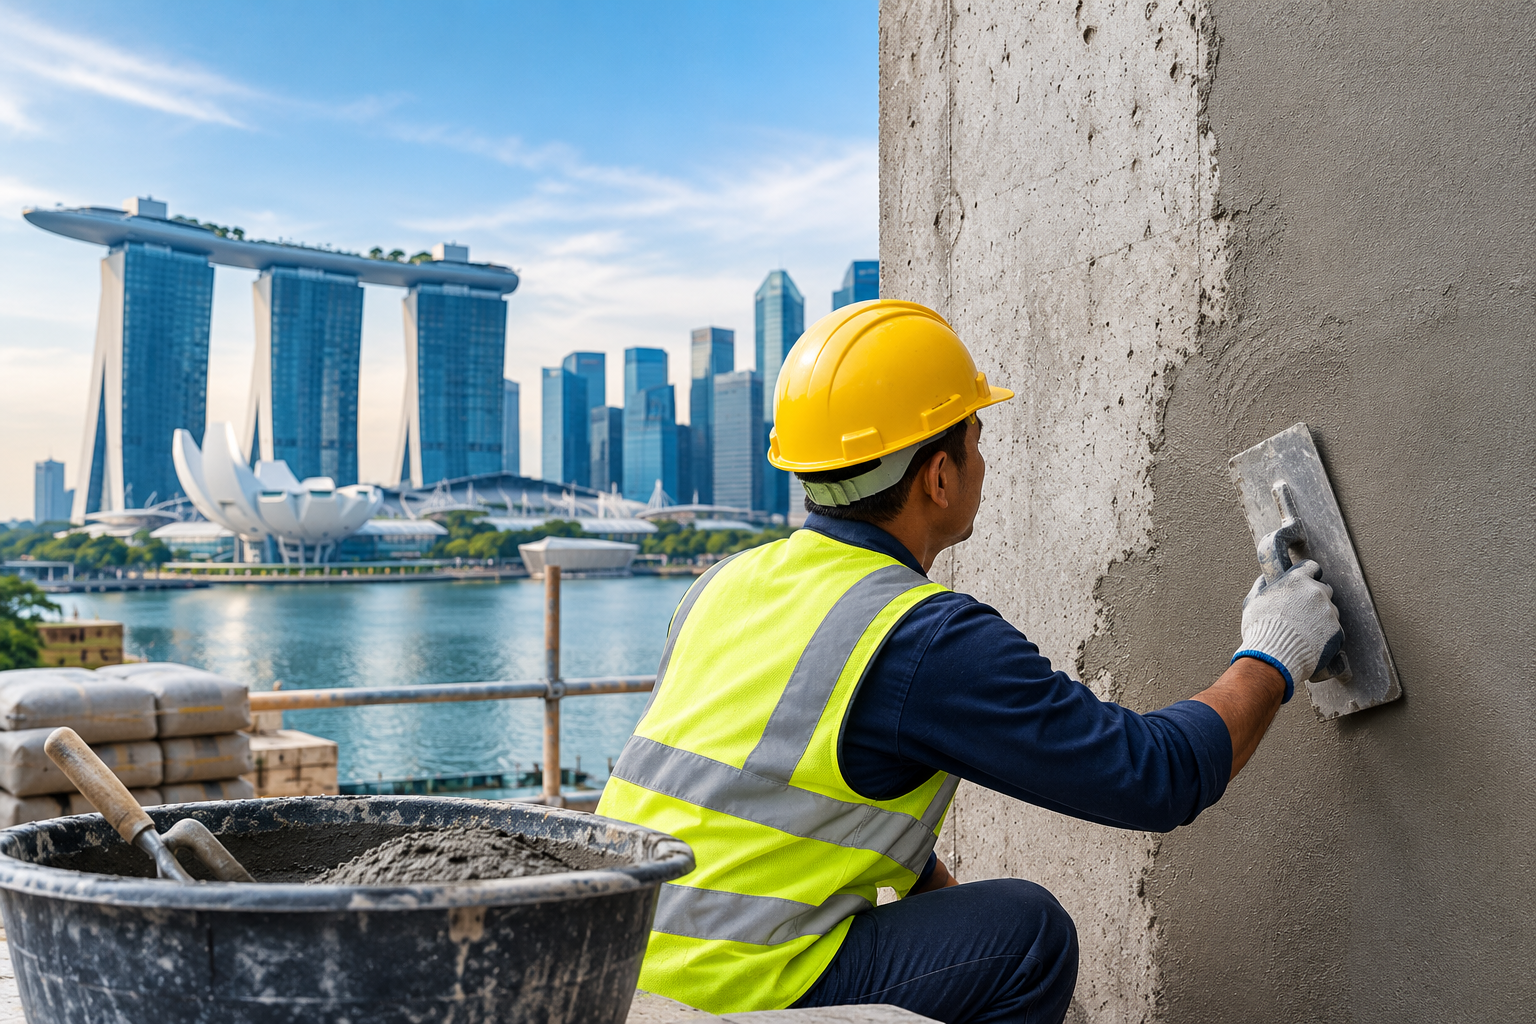
Once the surface is ready, plaster can be applied using an appropriate method and material. The plaster should be distributed evenly and levelled carefully to reduce visible irregularities.
The number of coats and application thickness will depend on the condition of the wall and the manufacturer's recommendations. Proper curing and drying between stages are also important for achieving a consistent finish.
7. Inspect the Finished Surface
After the plaster has been applied and has sufficiently cured, inspect the wall for uneven areas, cracks, and other visible defects.
Any necessary corrections should be completed before painting or applying decorative finishes. A final inspection helps ensure that the surface is ready for the next stage of the project.
Common Mistakes to Avoid During Concrete Surface Preparation
Even small preparation mistakes can affect the final appearance of a wall. Some common issues include:
- Applying plaster over dusty or loose surfaces.
- Ignoring cracks or signs of water damage.
- Using unsuitable bonding agents or repair materials.
- Applying plaster before the surface is properly prepared.
- Ignoring product instructions for application and curing.
- Starting painting before the plaster is ready for the next finish.
Avoiding these mistakes helps improve the consistency of the work and reduces the likelihood of preventable surface problems.
How Professional Plaster Work Improves Wall Finishes
Professional plaster work involves more than applying a layer of material to a wall. It includes assessing the surface, selecting suitable preparation methods, repairing defects, applying plaster correctly, and checking the completed finish.
For residential and commercial properties, careful preparation can help create smoother walls and ceilings that are better suited to painting and other decorative treatments.
If your property requires wall repairs, ceiling plastering, or surface preparation, explore the services at https://www.singcons.com/plaster.php.
Maintaining Concrete Walls After Finishing
Once the wall finish is complete, regular inspection can help identify early signs of damage. Look for recurring cracks, peeling paint, damp patches, or areas where the surface appears to be deteriorating.
Addressing the underlying cause of these issues is important before carrying out repairs. In areas exposed to moisture or heavy use, appropriate maintenance and suitable finishing materials can help preserve the appearance of the surface.
Frequently Asked Questions
1. Why should concrete walls be prepared before plastering?
Preparation removes dust and loose material, identifies surface defects, and helps create a suitable base for plaster application.
2. Can plaster be applied directly to concrete walls?
It depends on the concrete surface and the plastering system. Some surfaces require additional cleaning, repairs, bonding treatment, or other preparation before plaster can be applied.
3. How can cracks in concrete walls be handled before plastering?
The cracks should be assessed and repaired using suitable methods. Recurring or significant cracks may require further investigation to identify the underlying cause.
4. Does moisture affect plaster finishes?
Yes. Excessive or uncontrolled moisture can affect adhesion and contribute to deterioration. The source of moisture should be addressed before finishing work proceeds.
5. How can a plastered wall maintain its finish for longer?
Proper preparation, suitable materials, correct application, adequate curing, and timely repairs can help maintain the quality of the finished wall.
Conclusion
Preparing concrete walls properly is an important step towards achieving smooth and long-lasting finishes. Surface inspection, cleaning, crack repairs, moisture checks, and suitable surface treatment all contribute to better plaster application.
By following the correct preparation process and using appropriate materials, property owners can improve the quality of their wall finishes and reduce avoidable maintenance problems.
For professional plastering, wall repair, and surface preparation services, visit https://www.singcons.com/plaster.php.